Monday, October 15, 2012

Old drawer flower box

Well my apologies for no weekend post or earlier in the day Monday post, however life has been a little busier than usual. I ran a 5k Saturday morning at a great time in the COLD, then came home to shower and head to Lebanon Valley College's homecoming as we have now been graduated 5 years!! I really can't believe it, but nonetheless its true!! Sunday we finally had my mom and dad over to celebrate my mom's 50th birthday, so here I am to finally share some photos of the gift I made her.
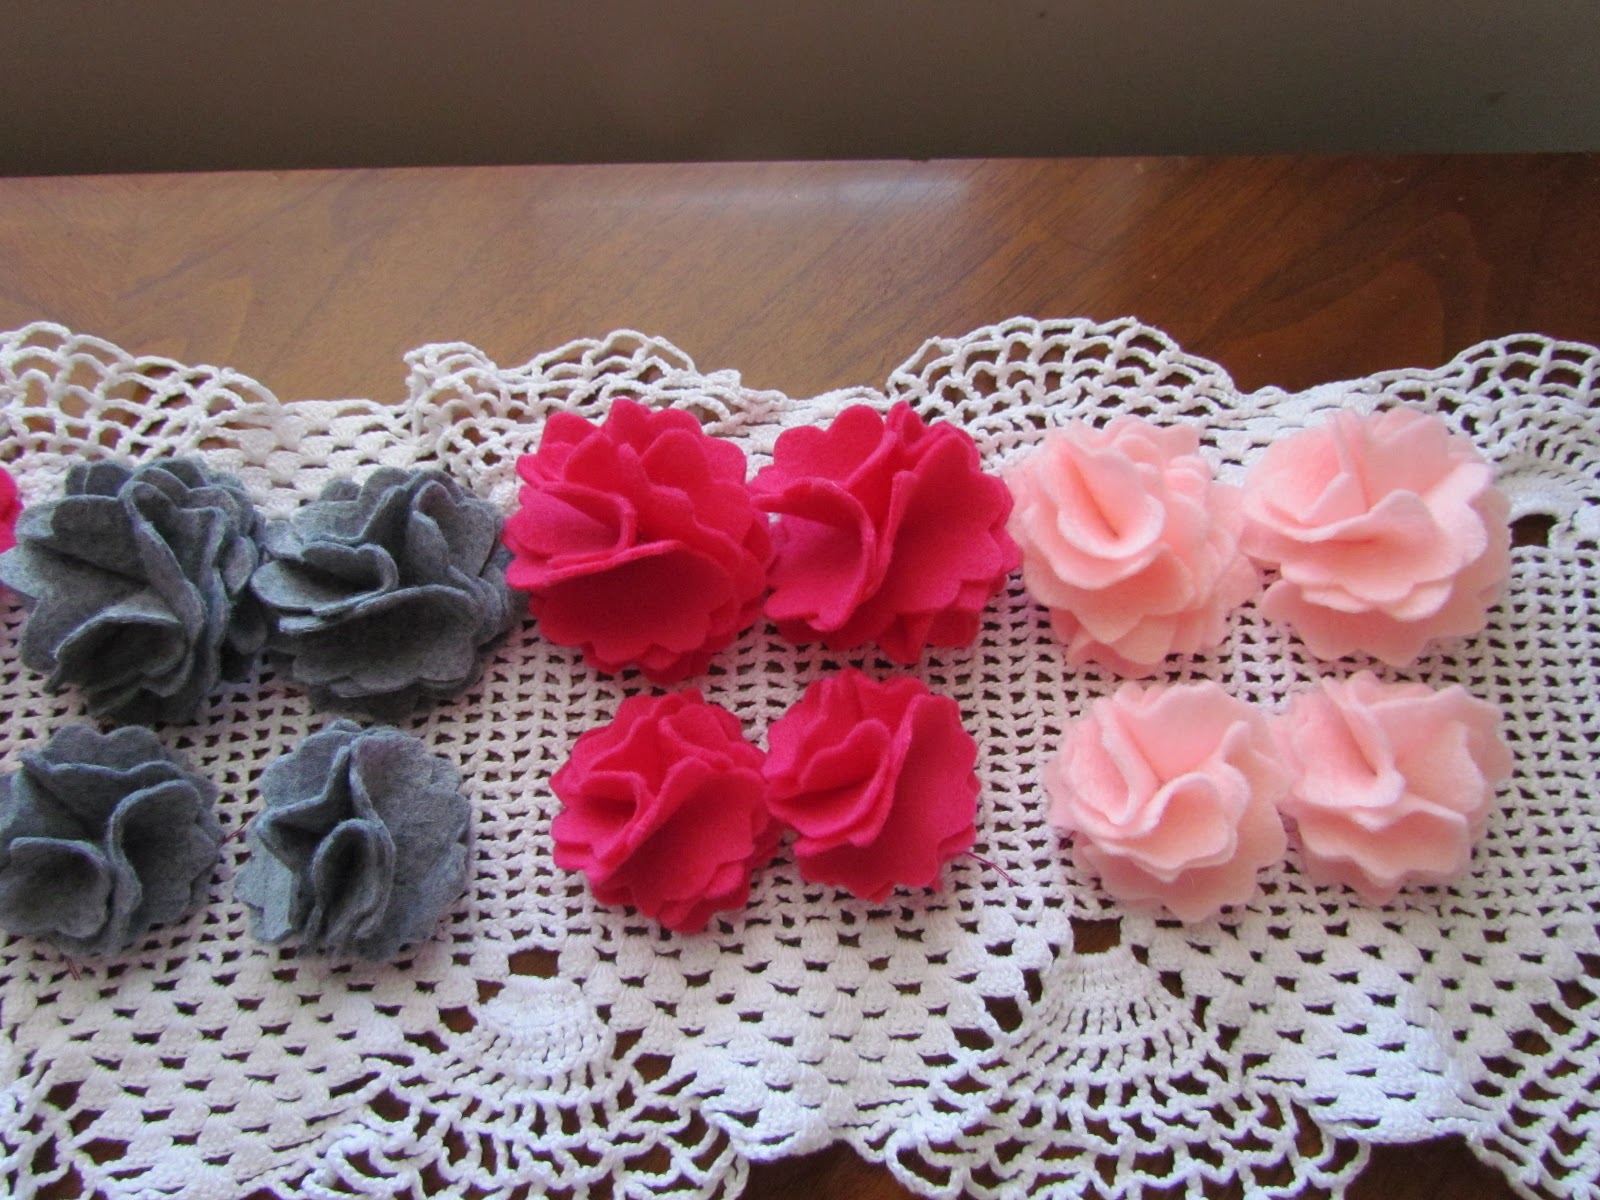
First, a nice view from above to show the different types of flowers I made.


 Next a few close up shots of some of the flowers (and the SO FUN buttons!!!)


This is an awesome close up of the really original neat drawer pull as this box was, at some point, a drawer and didn't house these fun handmade flowers. I found this drawer at this awesome store that I love (sometimes a little too much) Olde Factory Antiques found in Hummelstown, PA which is about 20 minutes away.

I love this pictures because it really shows the awesome character of the "drawer" and that I used real sticks from a tree in our yard to make the stems for a lot of the flowers.
So there you have it. This was actually the beginning of the flower craze that took over my brain for at least two weeks. My mom really enjoyed her gift and sent me a picture last night of where she put it when she got home. It was no surprise that she loved them, because we share a very (to a scary point) similar taste in decorations and love the old/country/primitive stuff. If anyone wants to know specifics on how I made flowers, please let me know. I believe I have previously posted the tutorials I followed for each type, but I will gladly link to them again.
Hope everyone had a great weekend and a decent Monday. Craft with you all soon!

Friday, October 12, 2012

Breast Cancer Awareness Part 2

And the madness continues. Once I began to make flowers, I just couldn't stop. I found different ways to make flowers nad came up with some other ideas. The frame below has been seen before, but I love it so much I thought I'd share it again.

and a nice up close of some of the flowers in the "vase" (aka mason jar!!) I also wrapped the jar with burlap and ribbon to give it a little more of a finished look. Burlap flower tutorial was found on pinterest from Snugasabugbaby. The rolled flowers, I can't remember where I first saw the tutorial, because they are everywhere these days. I just adore them all.


And then there were more felt flowers. Again, the tutorial from icandyhandmade. I had also seen some basic flat flowers on Nest of Posies and just made simple little ones.


Hope you  enjoyed all the pink :) And that my creations inspire you to create and remind you to self-examine!!

Thursday, October 11, 2012

Some fall/halloween love

Well this won't be the longest post in history, but I wanted to post some of what I have been so busy working on that I couldn't put down the glue, buttons, felt, or paper long enough to post.
Last week my awesome neighbor had a little banner out as a decoration and I commented on it.. this led to her asking me if I had any letter cut outs... and this led to me saying I HAVE A CRICUT, WE CAN MAKE ANYTHING!!!! So the next day she and her daughter came over and we created some SPOOKY Banners


I ended up making another SPOOKY banner last night because the one I originally made for me, was taken to my sisters, for her boys to enjoy. So anyway, then my neighbor thought it would be fun to having a Witching hour one as well. I wasn't sure exactly how she would want it, so I just got it all ready for her (my personal favorite part is my little witches hats- NOT from cricut)


So for my last little project I will share tonight- I used some fun little bar coasters (actually from Germany, I think) that I bought from a little, well big actually, store Antique Marketplace in Lemoyne. The coasters were super cheap, like I think I paid 2 bucks for 10 or so of these things, and when I bought them I was actually thinking of them for a sign like this. My mod podge for some reason didn't get along with my Target dollar section scrapbook paper from a few years ago, and I got a crinkly look, but love it.

I hope you enjoyed my little creations of fall. I am hoping to post some more of my breast cancer raffle items that I have also been (obsessively) working on lately. Also in the line-up to share is the arrangement of flowers for my mom's birthday and my favorite pages of the scrapbook I just finished.

Monday, October 8, 2012

Crazy Busy Life

So I feel like I really need to apologize that I haven't posted since last week!! Its been busy between projects I am working on, needed to finish, and waiting for my new nephew to arrive. Of those things, I finalized a scrapbook for my almost 2 year old nephew (he loved it!!), finished my mom's birthday present (lots of cloth flowers- pictures coming) and got to meet my nephew Saturday (also lots of pictures to come). Hopefully by Wednesday I will get a chance to do all these things and share with you. Also tonight I have been working on more breast cancer auction items for work- pictures will be shared when complete :)

Have a great week!

Monday, October 1, 2012

Breast Cancer Awareness Month

Over the past week I have been going back and forth between numerous projects and today I am featuring just one of them- given that it is the start of October, this is most appropriate
So far I have made just these 3 felt flowers that I am in love with. These (and any others I make before then) are being donated for an auction at work which will raise money to go to the Breast Cancer Foundation. Too many women's lives are taken by breast cancer each year and I hope that these flowers will not only remind people who wear/display them to self-examine regularly, but also remind those who see them.
I want to focus on this one, because when I posted it on facebook, I was asked how I made it. The tutorial for both the center and the main flower are from Design Dump. I actually made the base of the main flower bigger and it just worked out that I had this space in the middle that I wasn't 100% sure what I wanted to do with. From there, I had a reject "rose" flower that I just on a whim placed in the center and LOVED!!! Why do I call it reject flower, you ask? Because when I cut the spirals for the flower, I made them very skinny and as I glued the flower together, it got tall instead of wide.  All in all I totally love how it turned out and hope it helps contribute nicely to the auction money!  The flower on the left was made in the same manner and the one on the right was made with a tutorial from icandy handmade and although I was initially annoyed with the cutting, after completion I am more than happy to do it again.